The interview
Research. Research. Research.
If you don’t know the topic or your subject inside out, you could be left with egg on your face! Make sure to read the specific material relating to what the subject will be talking about, but also search for the interviewee on the internet. You may find some surprises, some views or comments that you might not have expected, and you may find previous videos with the subject that will give you a good idea of how they perform in front of the camera. It may also give you clues as to how best, or perhaps best not, to film your interview.
Once you feel you have exhausted your research, sit down and begin sketching out your questions. Start with a couple of easy, less-important questions, allowing the interviewee to "warm up" to the experience, get used to the camera and feel at ease with you, the interviewer. Once you feel all is in order, begin moving through the questions generated by your research, positioning questions so one flows from the last. Questions do not need to be asked in the order that you expect them to appear in the final video.
When doing the interview, it is vital to listen to your subjects' answers so you can respond with a follow-up (that you may not have planned); if the interviewee has not answered the question to your satisfaction or says something that is valuable to your messaging and is unexpected, you need to be ready to respond.
Finally, leave any controversial questions to the end. If your subject objects, your bases have already been covered, and you should have what you need, without any further word.
Always ensure you have the correct spelling and title of any interviewee — on camera, at the start, ask for the spelling of your subject’s name and for a title. In this way, there will be no mistake when you get your footage back to the editing station. Be certain to thank your subjects at the end of the interview!
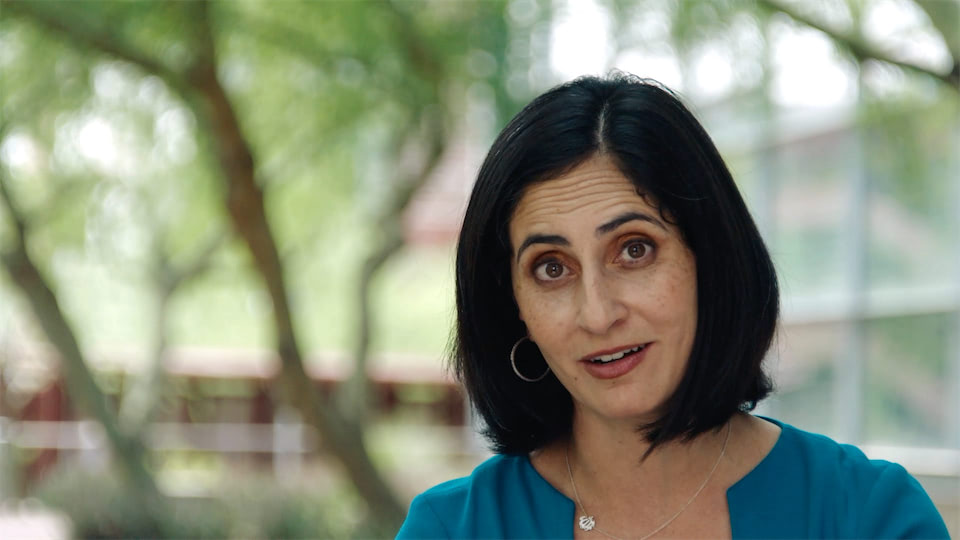
Interview locations
There are two key aspects to think about when you are deciding where to film an interview: light and sound.
In an ideal world, you would be filming in a quiet environment. Anticipate where noise might come from. ASU has beautiful campuses which in many ways make it ideal to record interviews outside, but the noise of passing staff and students aside — and the fact that Tempe sits in the flight path of Phoenix Sky Harbor Airport — makes it almost impossible to film without the noise of a passing jet every 20 or 30 seconds.
If you do choose to film outside, take into account such things as traffic noise, screaming kids, the click-clack of skateboards and other disruptive sounds. From a visual perspective, make sure that you account for the position of the sun when you decide in which direction to film. Film with indirect sunlight whenever possible.
Filming indoors gives you much more control of your environment. Choose a room where you are able to control the light or use it to your advantage. Think of the acoustics in terms of sound quality. A large room or one with tiled walls may produce echo. Also, keep in mind which machines may create background noise (think air conditioning) and see if you are able to turn them off for the interview. Consider capturing “room tone,” quiet natural sound of the environment, at some point on set to finesse audio edits later.
It is also important to make sure that you have enough space for all of your equipment, especially when utilizing lighting kits. Make sure there are enough accessible electrical outlets to run the equipment.
Once you’ve ticked all of the above boxes, choose a background that is not obtrusive and is pleasant to look at. If it relates to the subject (say a Sun Devils jersey for a football player), all the better. On occasion you may decide to put the subject in front of an artificial backdrop, like a black matte. This kind of decision may be made because no other suitable background exists, or you are trying to create a certain mood.
Make sure the locations and shots of each of the interviewees will work together. You do not want them to jar in the final edit. This means trying to use contrasting eye lines across the interviewees.
Eye Line examples