Graphics are visual elements that are used in marketing content to promote and demonstrate the ASU brand. Graphics can include many types of media, like video elements, icons, textures or charts.
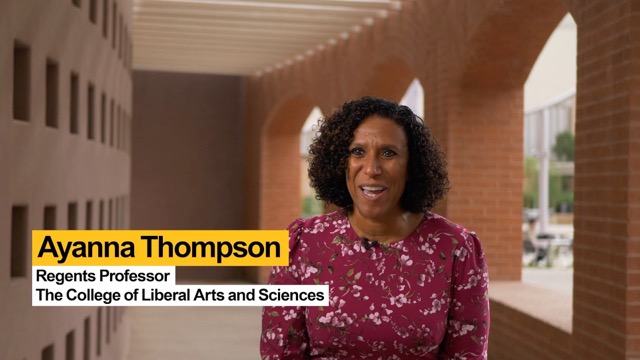
The most common graphics needed for video are lower thirds commonly used to identify people speaking on screen. Lower thirds give important context to the audience without the need to disrupt the interview with voiced introductions. ASU has created a standard for lower thirds designed to still be legible on the smallest screen (mobile). All text should be Neue Haas Grotesk (75 bold, “Display” for larger type, “Text” for smaller type, available from Adobe Fonts), though Arial Bold is acceptable in instances where the primary font is not accessible.
Note: Animating the ASU logo in lower thirds or other creative work is not allowed.
Download the lower third template
- Download the template file. Choose “Save As” so that you can keep the template saved on your desktop, hard drive or another safe location for future use.
- Go to where you saved the file, double click on the file and two folders will appear: After Effects and Photoshop.
Download the ASU lower thirds template
Then you can choose which application you want to create the graphic in. Directions for each are listed accordingly.
If using Adobe After Effects
- Open AE file from the folder where templates are saved.
- You should not be missing any files when opening the project. You need to have the standard ASU brand font, Neue Haas Grotesk, activated on your computer.
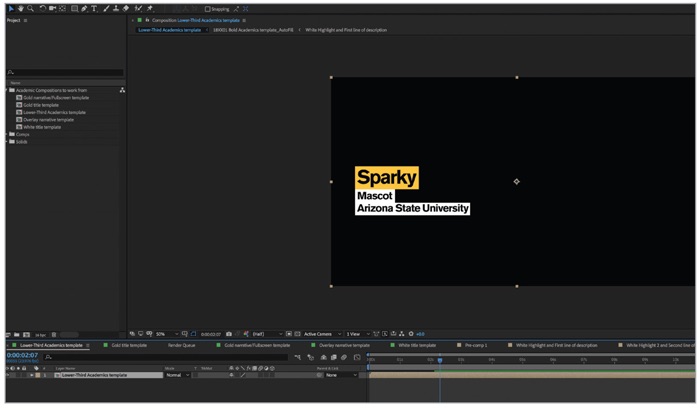
- You will see the full graphic pop-up in After Effects.
- A little more than halfway down the page, you will see tabs with green squares next to them. These are where your finished products will end up.
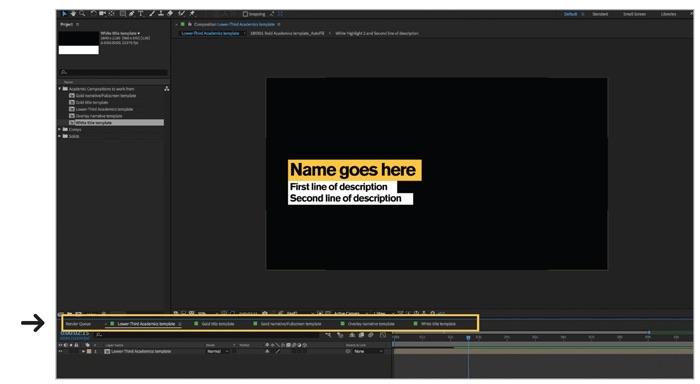
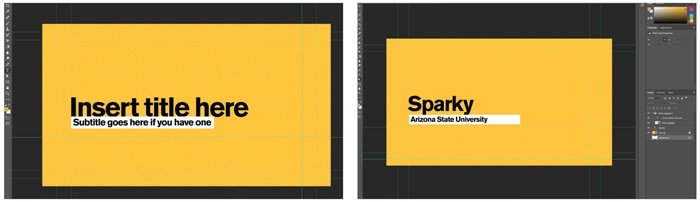
- Choose the appropriate graphic tab you wish to use and double click on the graphic itself in the composition window. This will give you the ability to edit the graphic’s text.
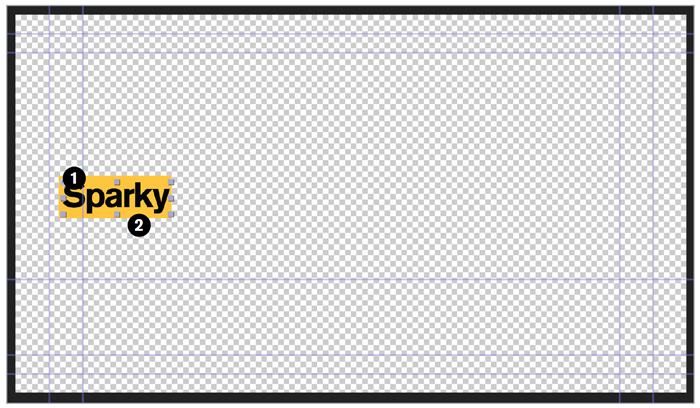
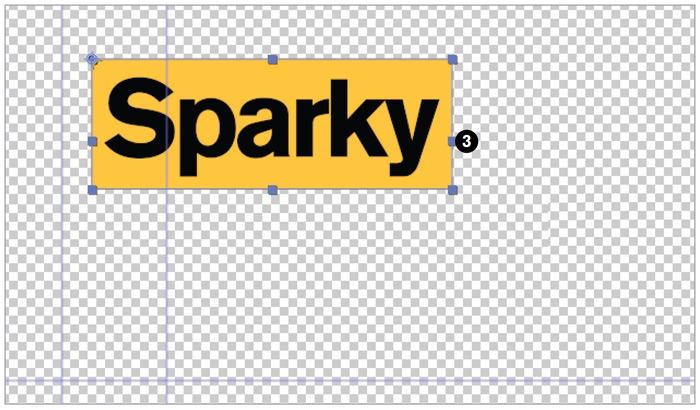
- Click on the piece of text you would like to edit (1) and start typing. If there is a colored background behind the text (2), you will notice that it resizes automatically.
- If the space of the background color to the right of the text is uneven from the amount of space on the left side, you are able to resize by clicking on the arrow tool in the top left corner, then on the background layer. Use the middle blue square (3) to resize in. Do not resize the box from the bottom.
- To see your finished product with the new text, go back to the template tab with the green square.
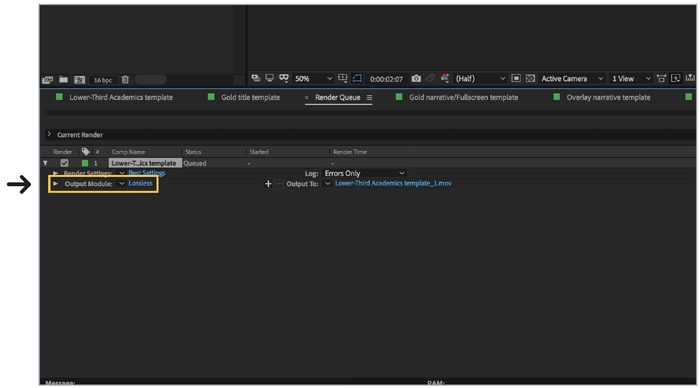
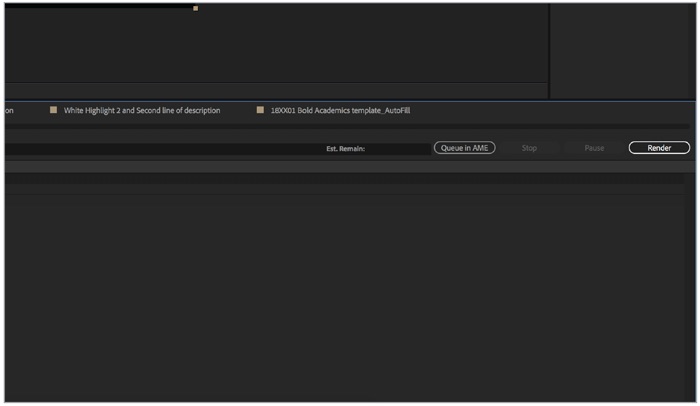
- If you are satisfied with the graphic, go to File, Menu, Export, Add to Render Queue. This brings up a panel on the bottom of After Effects.
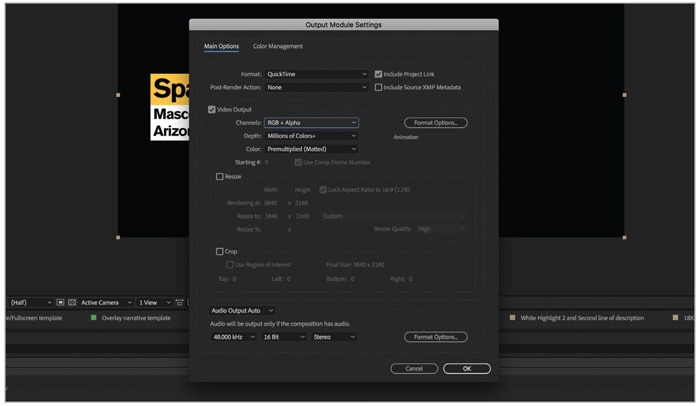
- In tiny blue font, you’ll see the word “Lossless.” Click on it and a box will come up. Under "Video Output,” change the “Channels” option from RGB to RGB + Alpha. Click "OK."
- Next, you will choose a location to save your graphic. Click on the tiny blue font next to “Output To:” and choose the location and rename the graphic. Click “Save.”

- Click “Render” to the right of this same panel. You will hear an alert tone that will signify that it has successfully exported.
If using Adobe Premiere
Open Premiere project, import graphic from saved location.
When brought in, you’ll see that the graphic is oversized and off the screen. This is because it is saved as a high-quality 4K graphic.
To adjust the size, click on the graphic box in your sequence, go into the source monitor in the upper left-hand corner, click effect controls and change the scale size to 50. If you are using a template other than a full-screen graphic, you cannot change the size of the graphic itself, but you are able to position it appropriately. Keep positioning in mind if closed captioning will be used in the video.
The closed captioning guide is in the original template folder that you saved to your computer. It is a small gold line that you can import into your Premiere project as a guide for positioning. When importing, click "OK" to merge all layers. Then, you will go back into your effect controls in the top left panel and scale the closed captioning line down to 50.
Adjust your graphic so that the bottom of it does not go below the gold line.
Delete gold line once graphic is placed.
If using Adobe Photoshop
- Open PSD file of the graphic you will use from template folder.
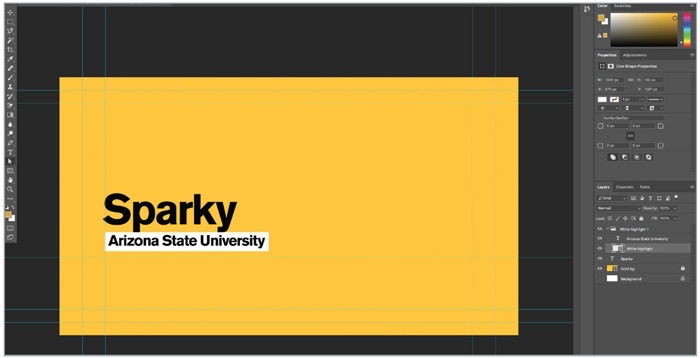
- To change text, click on the Text tool in the left panel.
- If a background color does not resize to your text, click the arrow tool, select the layer you wish to change under the layers panel to the right, hold down “Command” and the letter “T” to select that layer. Release the keys.
- Be sure to hold in “shift” before using your mouse to resize the background block. Holding down “shift” keeps it level.
- Hit “Enter” to submit the change.
When your graphic is finished, click "File," "Save As," and rename the PSD file, choose a location to save.
To bring into your Premiere project
- Open project file, import PSD file from saved location.
- Similar to bringing in the After Effects graphics, these will also be oversized and off the screen. To adjust, click on the graphic in your sequence, go to effect controls and scale the size down to 50.
- If you need to make any changes to this graphic, simply go back into Photoshop, make the adjustment and click “Save.” This will automatically update the graphic in Premiere Pro so you will not have to import the graphic again.